Hi there, long time no chat! I know it’s been an absolute age since I posted anything on my blog. Despite the long break, I’ve been “blogging” a long time! I started my blog initially in 2012 after doing a makeup course. I was all about the makeup and I wanted to share my knowledge with people and show some of the makeup and looks I created. I started at a time when blogging was just taking off and there was a great blogging community with other bloggers regularly coming together and sharing ideas and holding events. At that time, beauty companies were only starting to realise the potential of bloggers, who were just regular girls (and some guys!) with a love for makeup and beauty. They start sending us numerous free products for review and personally, the products I got sent that I actually used and loved, I reviewed on my blog. Some brands built their good name solely on the strength of bloggers. If a product was reviewed positively by a number of bloggers, it started a buzz that made people want to go and buy the product to see what the fuss was all about! Of course, some bloggers, including myself, were just buying products that they loved and reviewing it too which was great but I think if you look at bloggers now, there are only a handful who are still doing that and who you can actually trust with their opinion. Once “influencers” came along, the whole blogging game has changed.
Now to some degree, I’m not totally against influencers, if they genuinely are a good fit for the product and genuinely sharing their love of it. But if they are promoting anything and everything, people can spot that a mile off! Influencers with a huge following are paid unbelievable money now for just 1 post on their Instagram or blog. Bloggers are not “bloggers” in the literal sense anymore since they don’t actually write posts on a blog but just add to their social media. The whole scene has definitely evolved since I started nearly 7 years ago, and while I don’t begrudge the women who are making money from their blog, actually, I think fair play to a lot of them, especially if they are making a living from it! I have to wonder about bloggers content coming solely from random companies (that usually have nothing to do with their main niche) buying their opinion and that doesn’t sit too well with me which is one of the reasons why I lost my love of blogging.
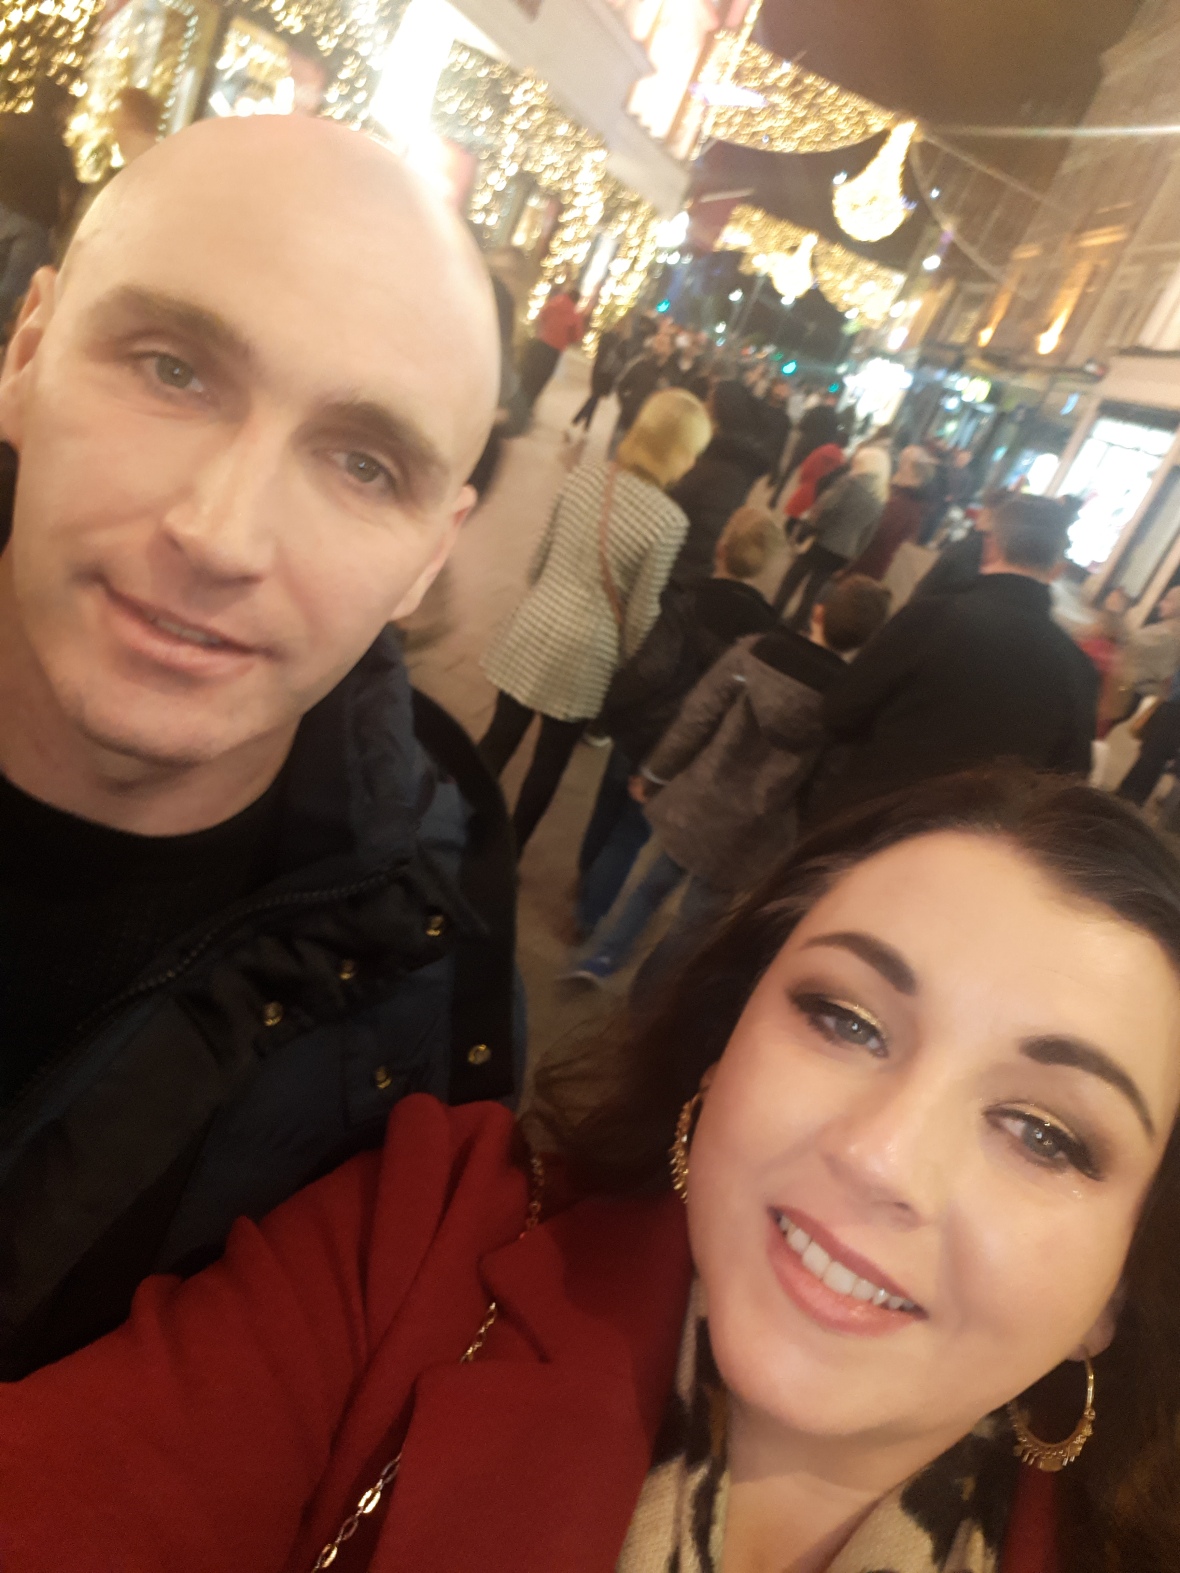
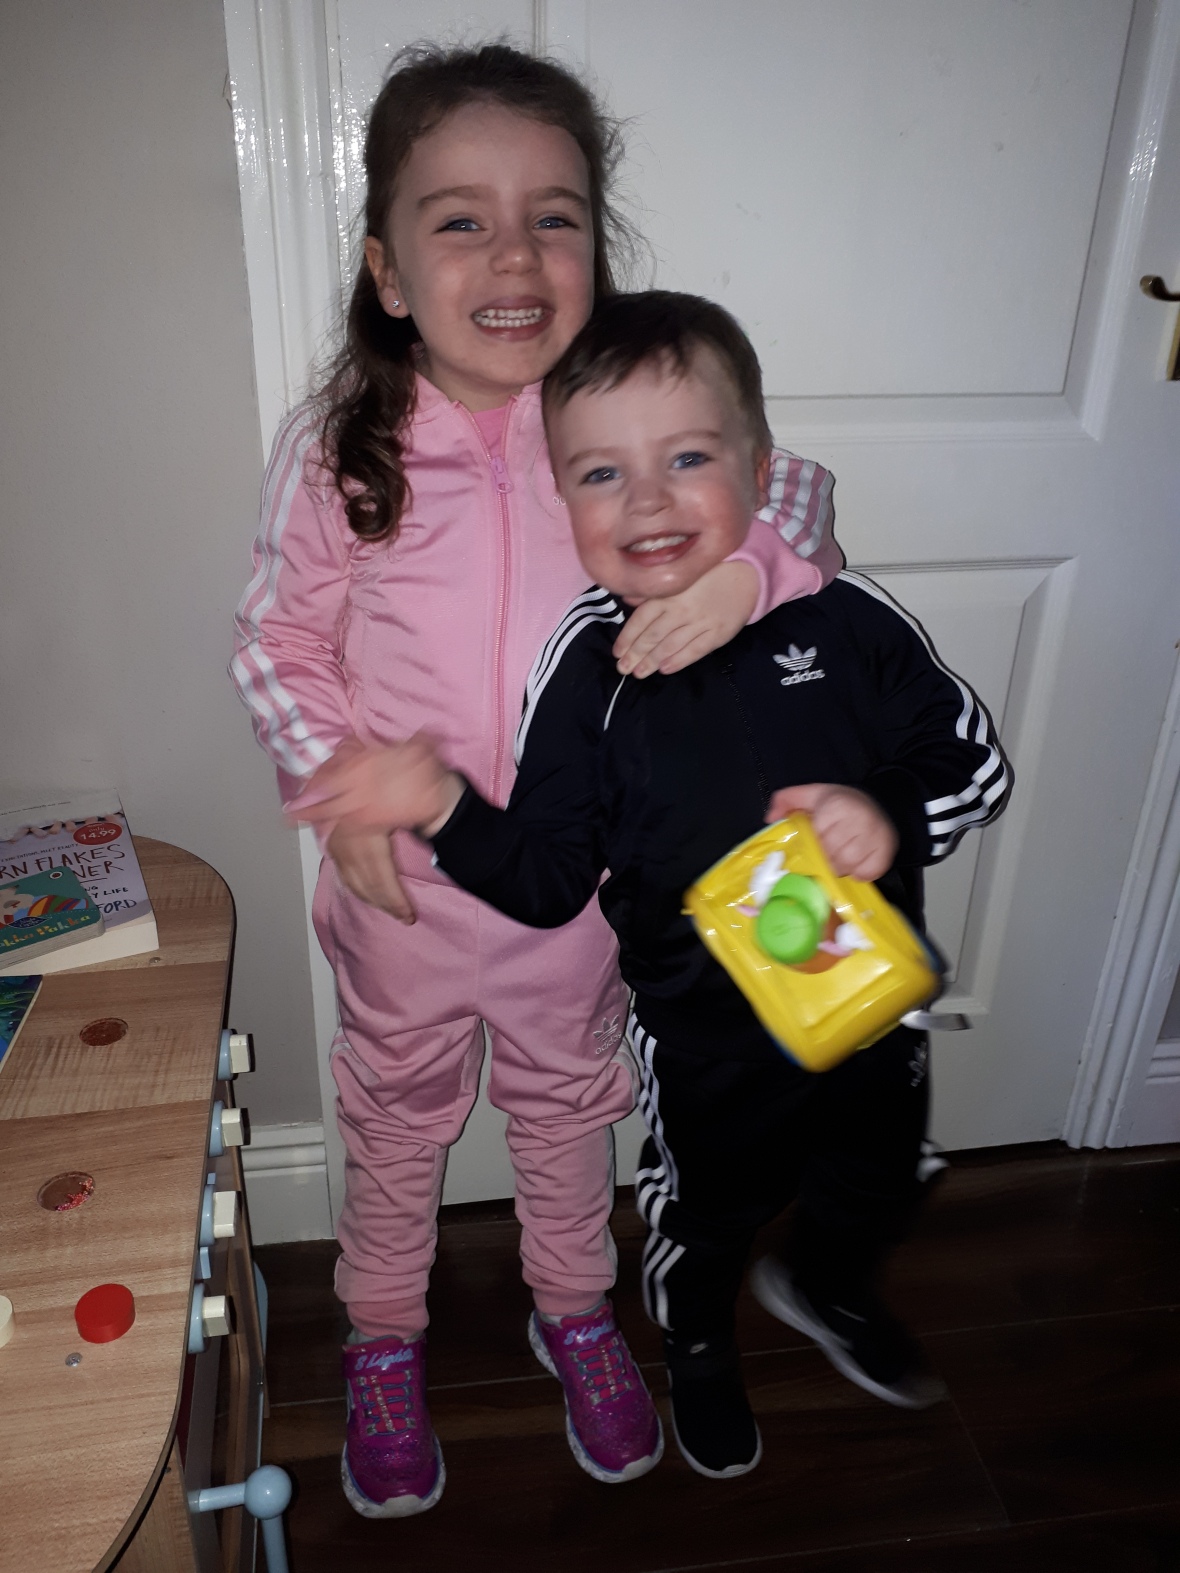
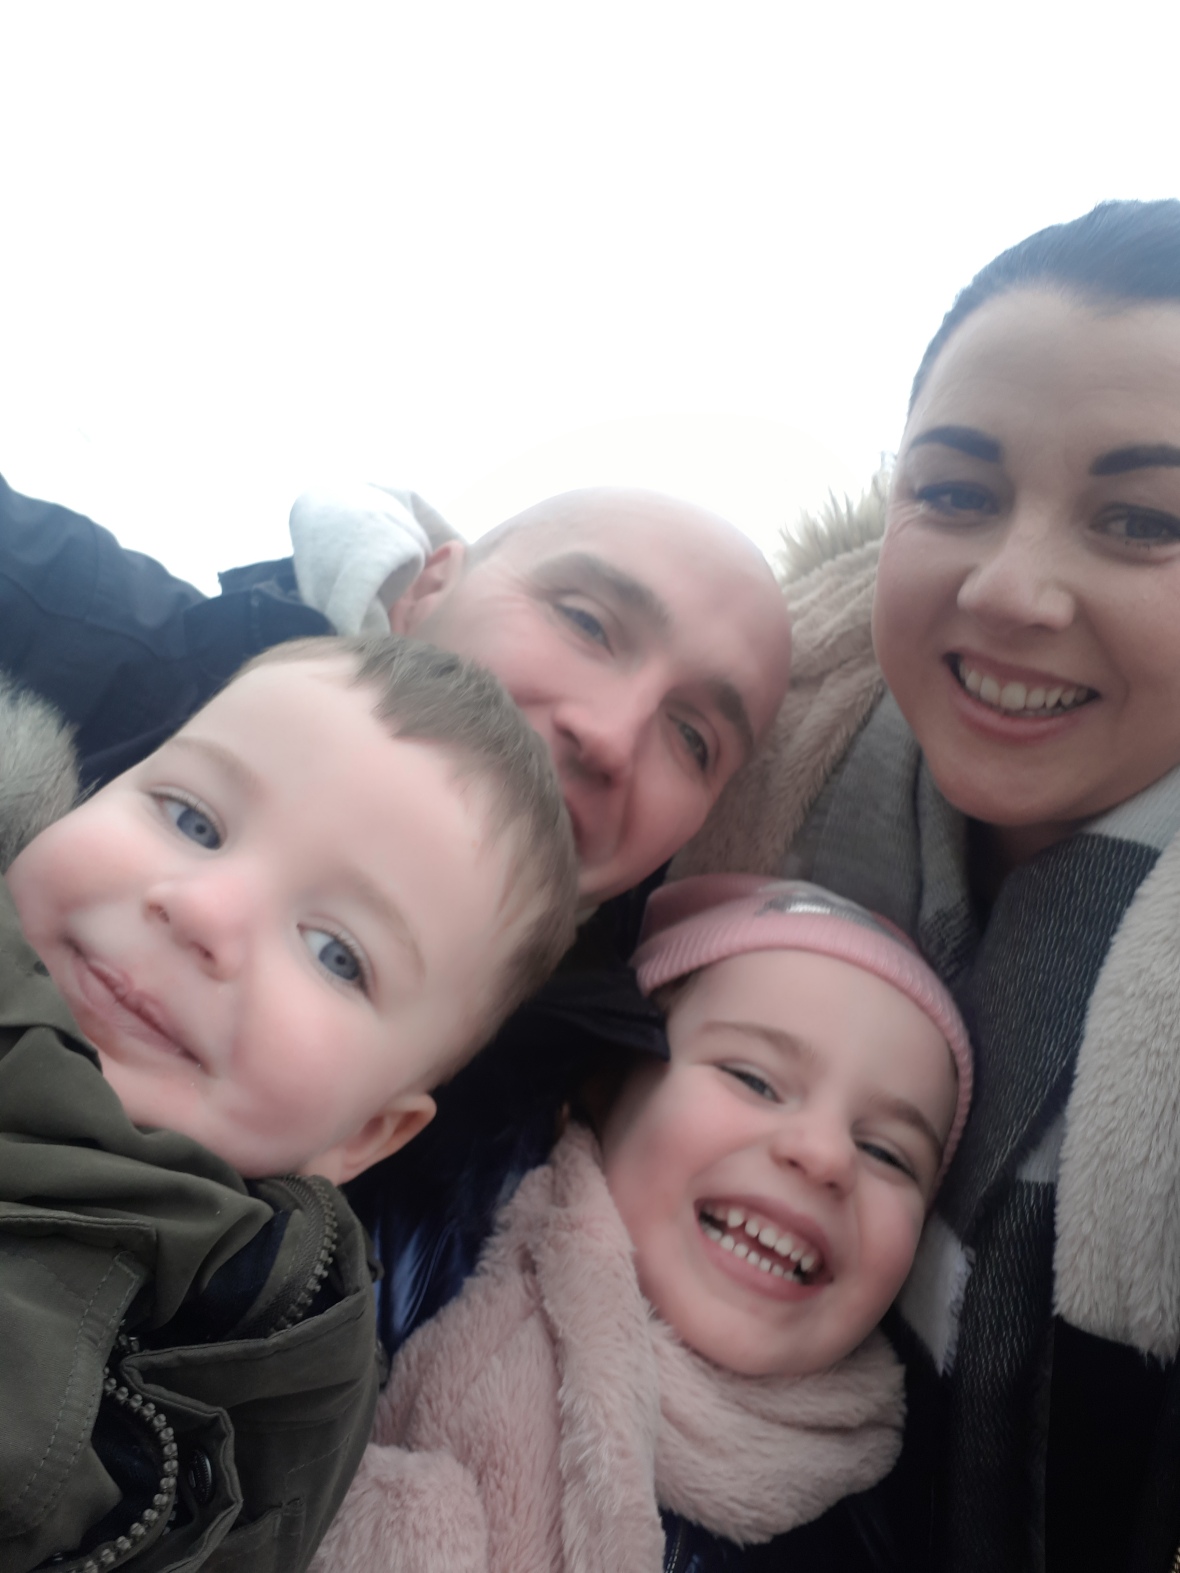
Another thing that made blogging on one particular subject a little harder for me, was the arrival of my two beautiful children, Eva & Jack. Now I know that being a Mammy doesn’t stop a lot of people blogging, but my blog was built on a particular niche – Makeup and Beauty and there was me not getting a minute to put on makeup most days! I didn’t feel like I was any kind of advertisement for makeup and beauty and my kids kept me busy and left me with more to deal with than just that particular subject. Also a lot of personal things started to happen in my life and it took my attention away from blogging. Which was actually a bit ironic because, I initially started my blog as a distraction from a very hard time I was going through. In 2012, myself and my hubby Gar started trying for a baby having got married the year before. In March of that year, I discovered I was pregnant much to our delight! Unfortunately at 6 weeks I started bleeding and subsequently suffered an early miscarriage, which was so devastating at the time. I was so utterly sad and I just needed an outlet to give me a bit of joy and something to focus on, that’s where my blog and sharing my love of makeup started. It was just what I needed at that time.
So where to now? Well I still love makeup and anything beauty related but as I said, life now is busy and stressful, like any family! For a long time I’ve suffered a bit of an identity crisis when it comes to my blog, when I think about sharing a post, it’s not always about makeup or beauty, it might be more to do with family life or something personal that I want to share, in the hope that it might help someone or a post about a holiday or break I went on and loved. Or how I de-stress and practice self-care etc. So, I’ve come to the conclusion that I need to expand my blog a bit and include more family and lifestyle posts. I will still post about makeup and beauty too but in general my blog will be more of a mixed bag, because that’s just how life is for me now. Everything evolves over time and my blog is no different.
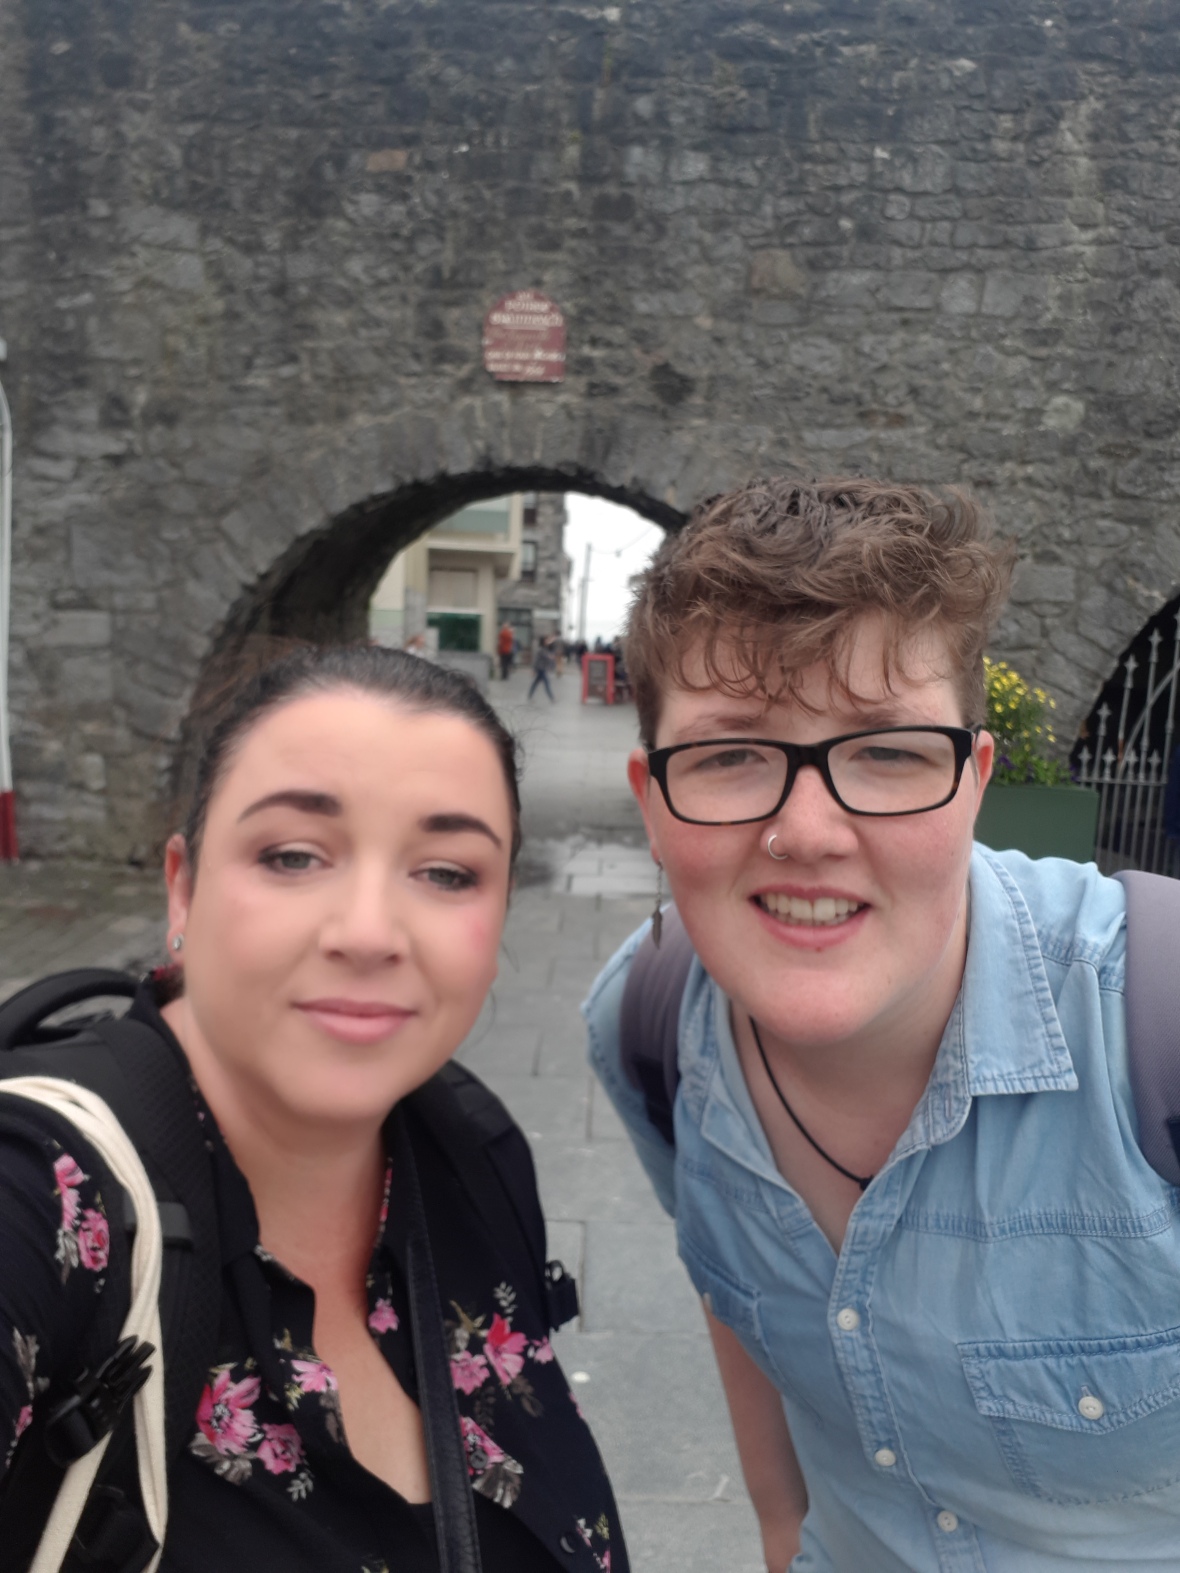
I have gone through a bit of turmoil recently, I posted a bit about it on my Instagram but my eldest child (well, adult at 22!!) came out as a transgender man last year and I’d love to share our experience with that and raise more awareness from both, a parents point of view and from my son’s also as there just seems to be so much misinformation and assumptions made. Also as I said, family life is full on with 2 smallies aged 4 & 2 and we’ve already faced a few trials & tribulations there so I’d love to share some of those, again in the hope it might help someone else or open up a new perspective or awareness. I think that’s the kind of blogging that adds value to peoples lives these days and I really want to be a part of that. Plus, writing can be so cathartic and there are so many bloggers that I know who have started a blog from really difficult circumstances and they’ve helped others so much in sharing and that’s what I’d love to do too. As I said, I still do love makeup and beauty so of course I’ll be blogging about them still. I had toyed with the idea of creating a completely new blog with a new name too but decided against that in the end.
I’m just broadening my horizons a bit so welcome to Kandigloss Makeup and Lifestyle blog! I hope you’ll enjoy my posts going forward.
Michelle